|
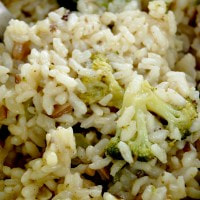
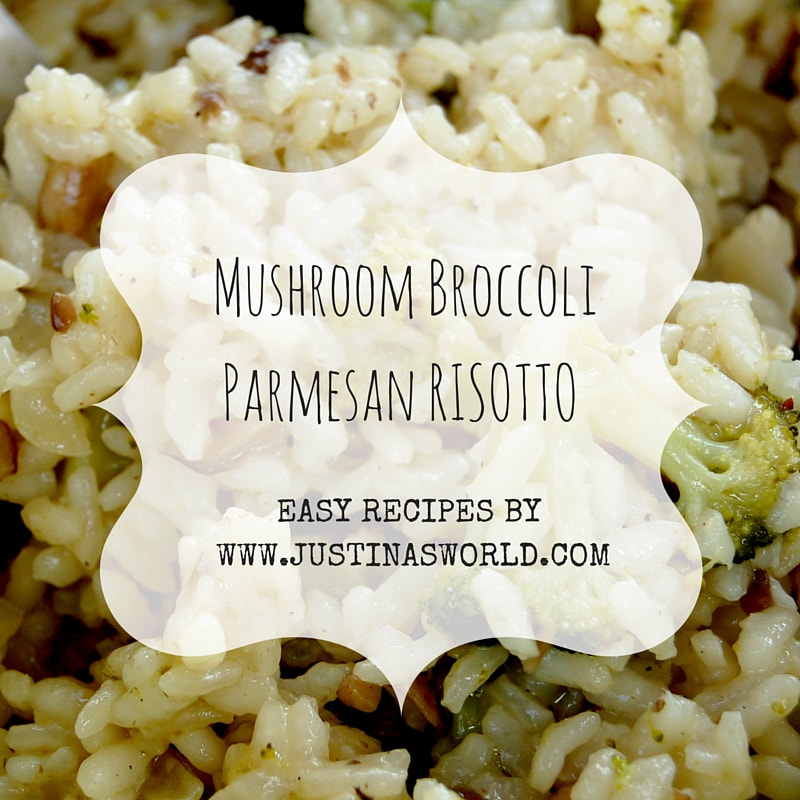
My dad taught me how to make this dish, and it is one of my favorites! It does take a bit of practice, as Risotto in general can be tricky as it needs to be constantly watched and stirred. It is a pretty high maintenance dish, but the payoff is very rewarding if you can get the hang of it, because it is absolutely delicious!
Risotto is a very versatile dish that can either be prepared as a side to any grilled meat or seafood dishes. Feel free to even add and kind of meat or seafood to the dish as well! Risotto can even be prepared and eaten as a main course as it is very hearty and filling! Either way, I’m sure you’ll enjoy this delicious meal! INGREDIENTS Olive Oil 1 Clove of Garlic Chopped Mushrooms Broccoli – (You can use fresh Broccoli, but I had used frozen) 1/2 a Small Onion 1 Cup Arborio Rice 1 Cup of Water 1 Cup Chicken Stock Parmesan Cheese White Wine (You can use cooking wine, but I just used regular wine.) Salt n’ Pepper DIRECTIONS 1. So we’re going to start off prepping our veggies! First dice up your mushrooms and onions and throw them into a bowl along with your broccoli heads. 2. Next mince your garlic and coat the bottom of your pan with extra virgin olive oil. 3. Once that is simmering nicely, and before the garlic turns brown, add your bowl of veggies!! Let those really simmer and cook through nicely before adding your rice…. 4. Once your veggies are pretty much cooked through enough, you want to add your 1 Cup of Arborio rice. I really love this rice because as it cooks it starts to form this creamy like consistency and it is OH SO YUMMY! 5. Now once you add your rice, stir that in with the veggies and make sure all of the grains are covered in the oil until they start looking clear. Once all of the rice is covered in the oil, you want to add 1 cup of water, and 1 cup of chicken stock. 6. Now STIR!! Lower the heat, and put the lid on and crack it a bit… Let it cook. Be sure to keep checking every minute or so until it looks like the risotto has absorbed some or most of the water. 7. Once the risotto is absorbing all the liquid very nicely, stir more!! Again, the key to good risotto is to keep stirring and keep between low and medium heat… 8. This step is optional, but I added some white whine (I love any dishes with a little splash of wine, a tablespoon should be enough). 9. Add some grated fresh Parmesan cheese! 10. Keep stirring until most or all the liquid is now evaporated. Taste the rice to make sure it is cooked all the way. If it is still too hard to the bite, then add some more liquid and keep stirring until all of the water is completely evaporated, and the rice is soft to the bite. 11. Once your rice is soft to the bite and all of the liquid is evaporated, remove from heat, and place into your serving bowls. BON APPETITE! Did you like this recipe? Did you do anything differently or add different veggies or cheeses to mix it up? If you decide to give it a try or have any other ideas to add to this recipe, please comment below and let me know your thoughts!
0 Comments
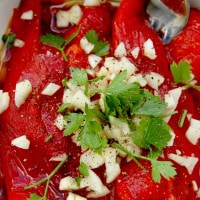
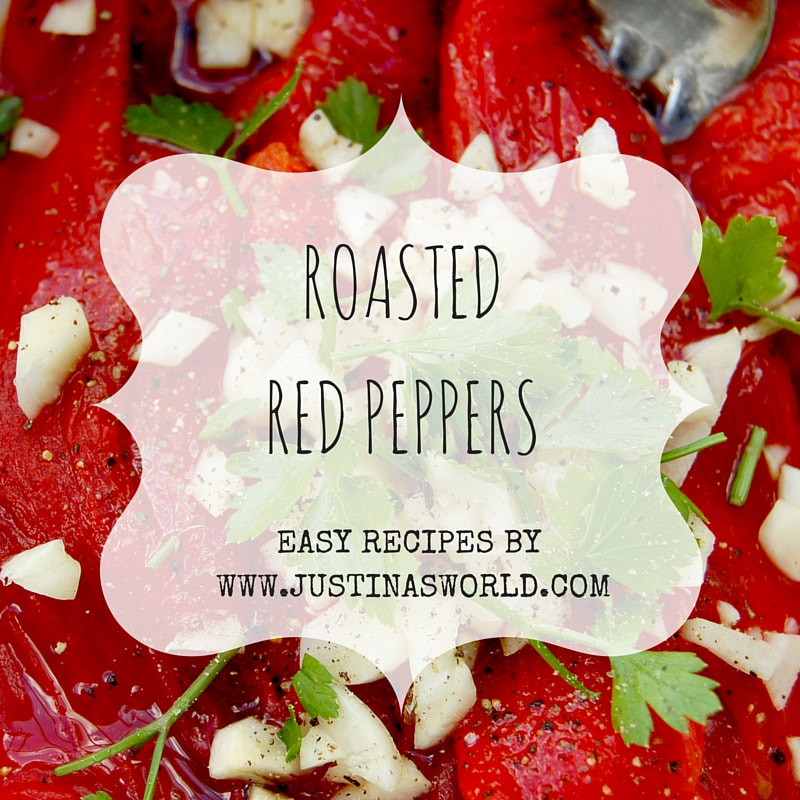
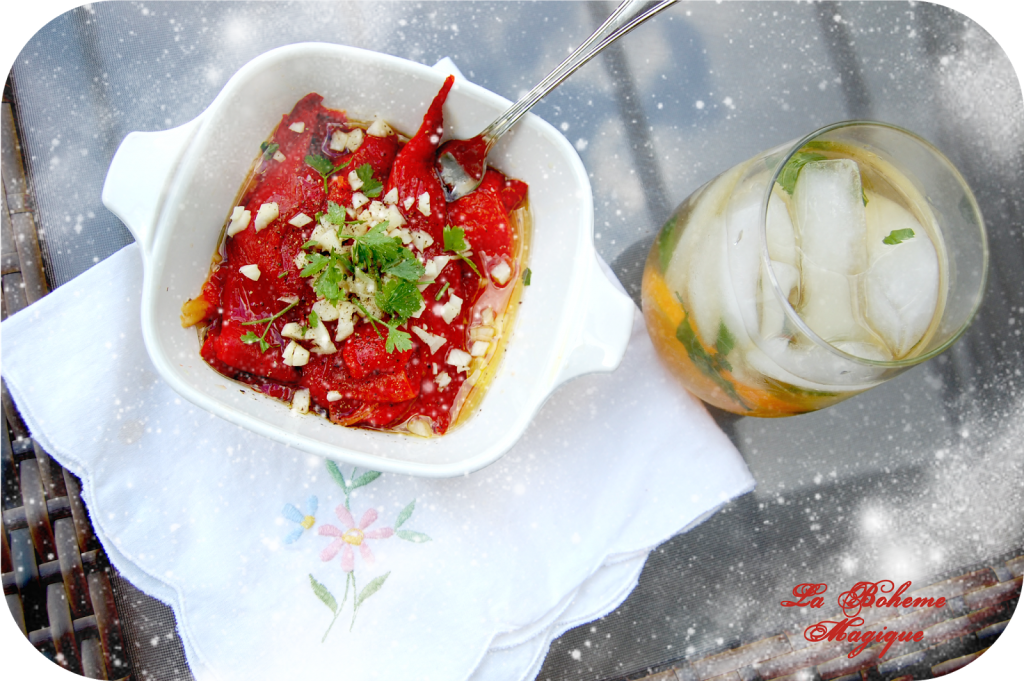
Now I grew up in an Italian Household with my parents often entertaining, and this dish has usually always been on the antipasto menu! They are DELICIOUS, and absolutely EASY to make… ROASTED RED PEPPERS Ingredients: 1 Red Pepper per person 1 Clove of Garlic A Few Sprigs of Fresh Parlsey Extra Virgin Olive Oil Sea Salt Ground Black Pepper DIRECTIONS: 1. Preheat your oven to 350 degrees. 2. So we are going to start with our peppers, I am going to make 2 for today. Before we cook with them, let’s just rinse them anyway to be safe! 3. After they are rinsed, dry them, and place them on a baking sheet covered with tin foil. 4. Pop those babies in the oven, and leave them in there for about a half hour or until the skins look like they’re starting to charr and start peeling off of the pepper. You also want your peppers to feel soft to the touch, not really firm anymore, so make sure the insides are cooked before taking them out! 5. Once they are cooked all the way through and the skin looks like it’s lifting and starting to peel itself off, take them out and let them cool before handling!! Once they are cooled enough remove the stem/core and start peeling the skins off! 6. After removing the skins, start running the peppers under cool water to remove all of the seeds and any skin remaining off the pepper slices. Place them in a dish, because we are going to start seasoning these babies! 7. Chop up your cloves of garlic & collect your Parsley from your garden, or purchase it from your local farmer’s market as well! If that’s the case, give them a little rinse as well. Add your Extra Virgin Olive Oil to your peppers,sprinkle your garlic and parsley over the top, and then lastly add your pinch of sea salt and your ground black pepper! 8. Give that a good mixing, and you might wanna wrap this up and fridge it for 20 – 30 minutes before eating. They are best when they are cold! It’s been a great day of experimenting in my kitchen, and showing you this recipe that I grew up with… Try them yourself, and let me know how you like them, or if you decide to try them, and you have your own ideas to add to them, I’d love to hear about em!
|
MY RECIPESI grew up in an Italian household, so food to me is a very personal experience. Food to me, means family sitting down together to enjoy a nice meal. It is the part of the day that I cherish the most, bonding over stories and flavors. Good food is one of the greatest enjoyments of life. Archives
May 2020
Categories
All
|





 RSS Feed
