|
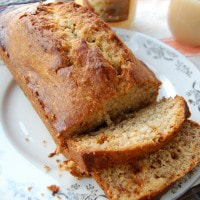
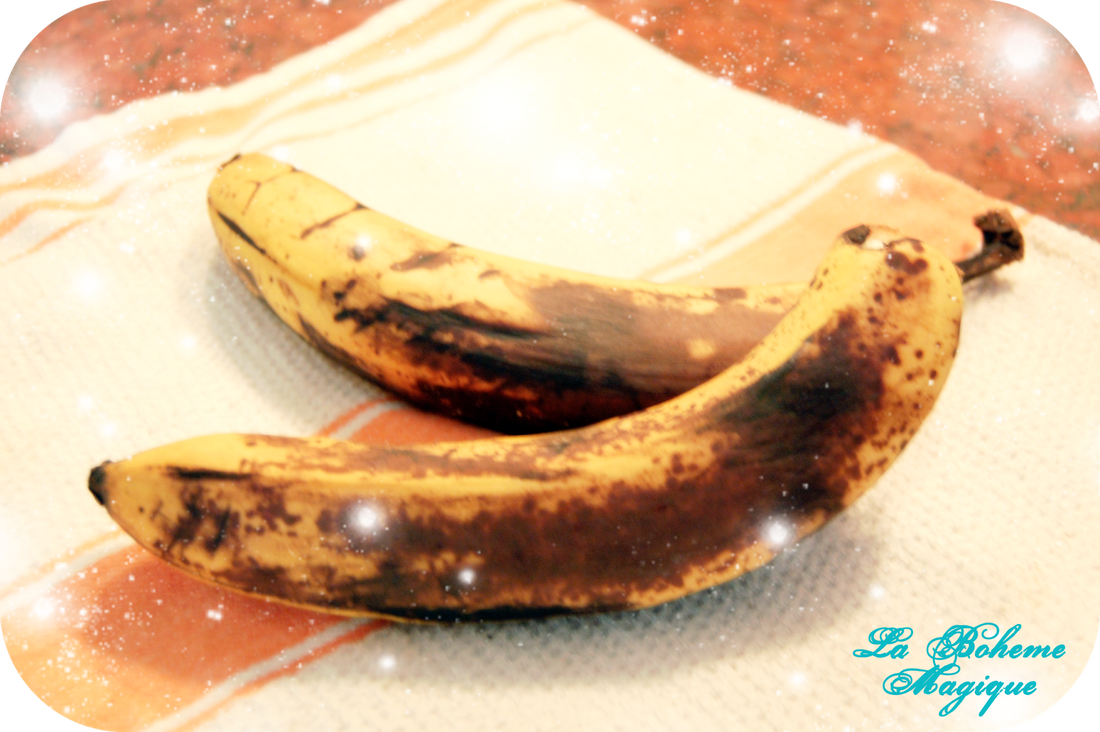
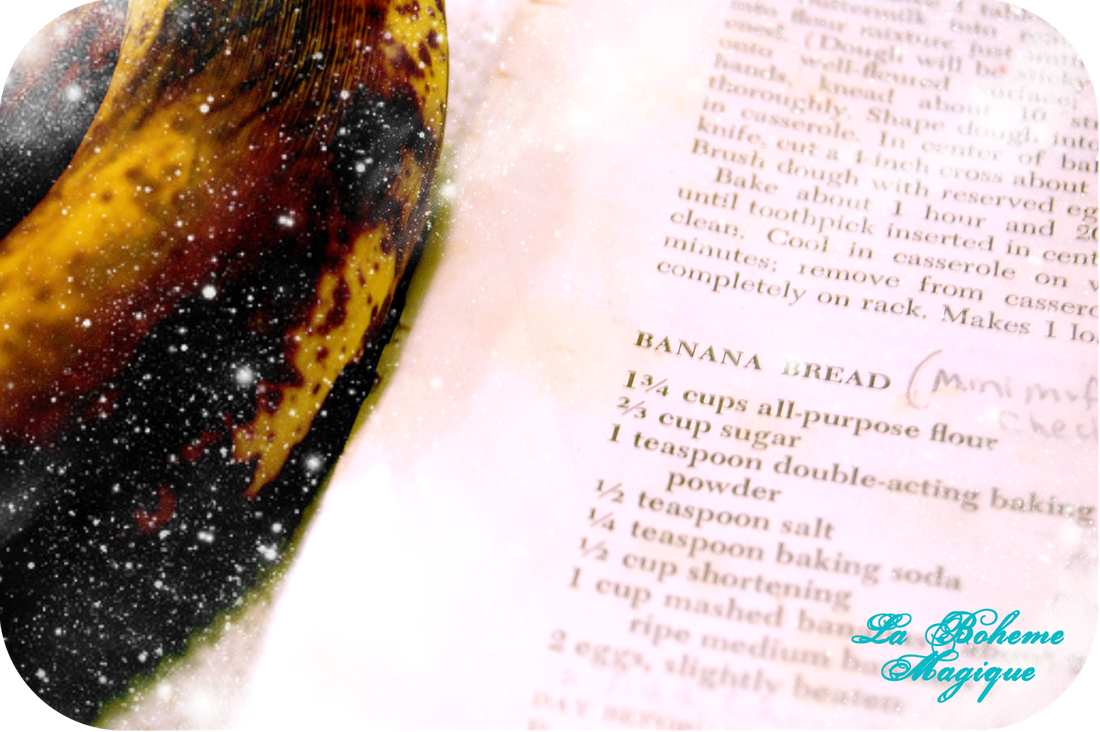
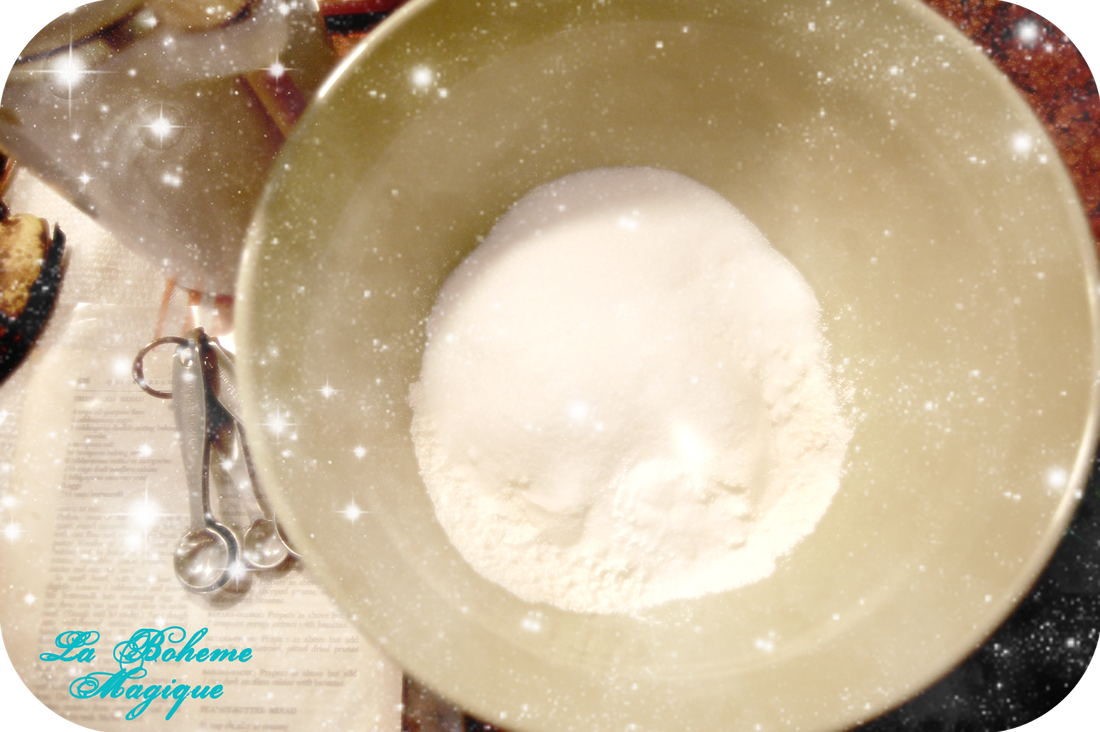
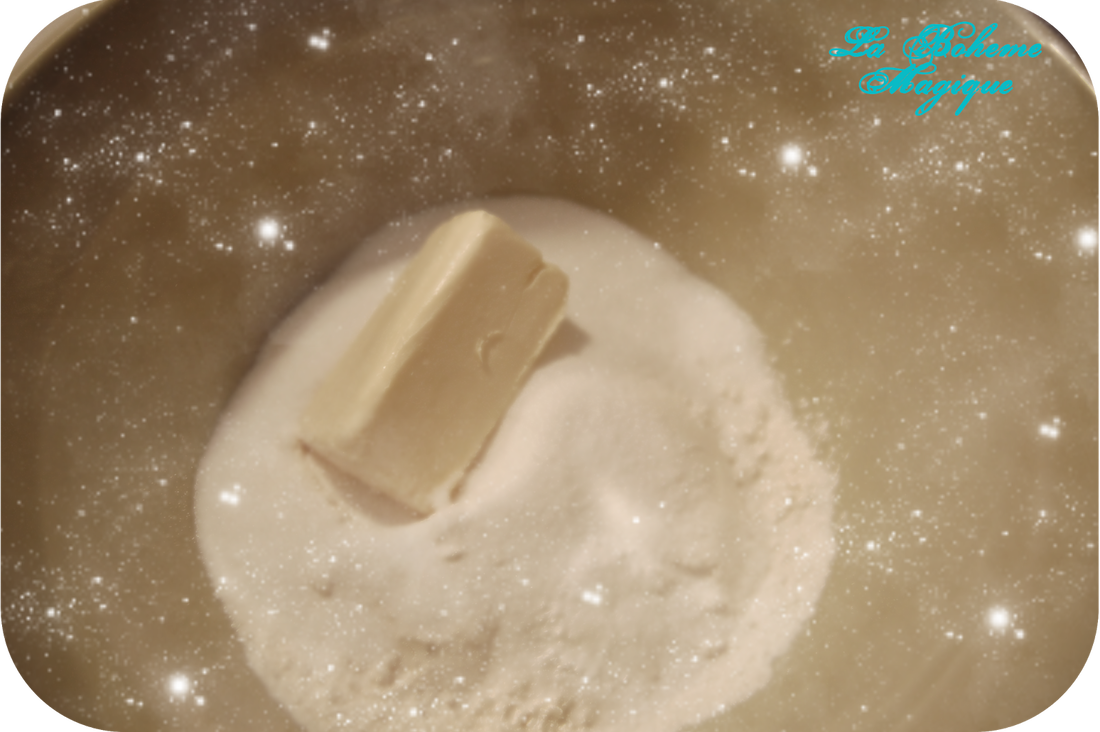
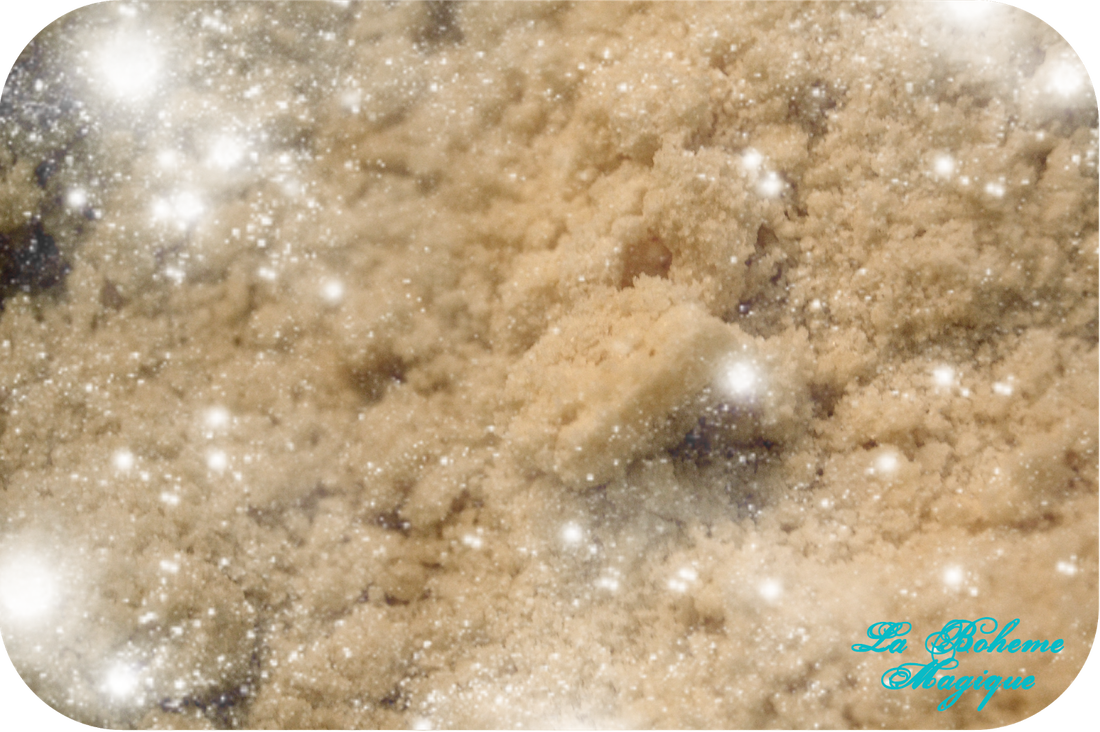
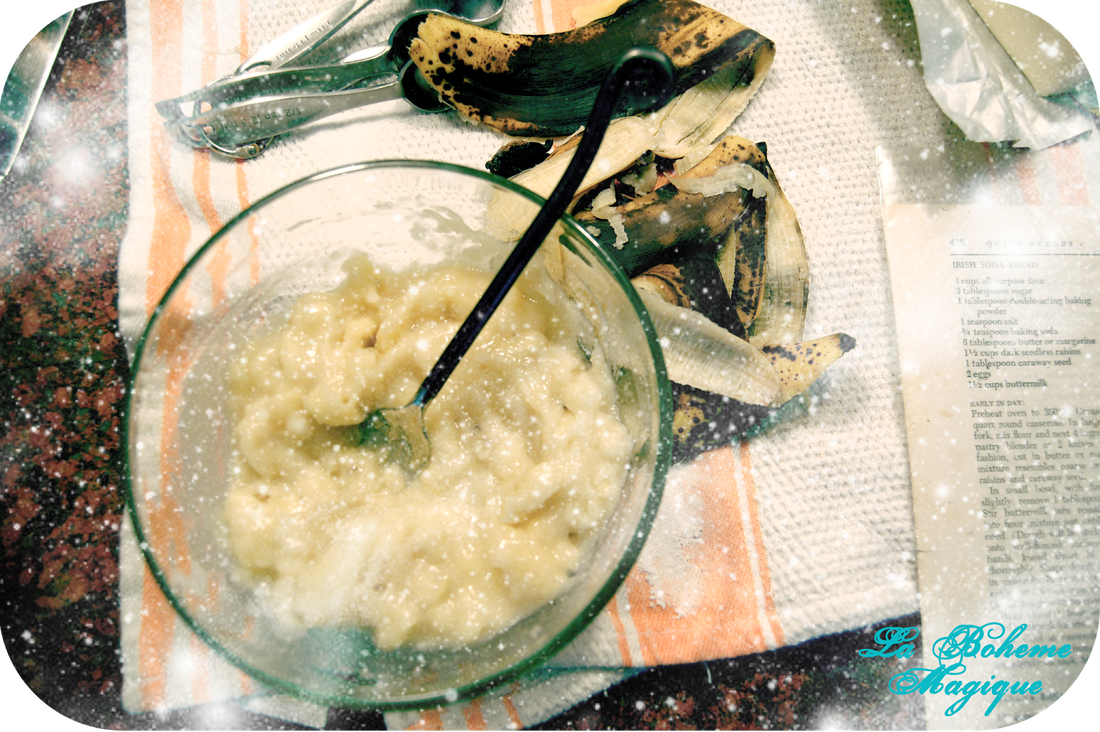
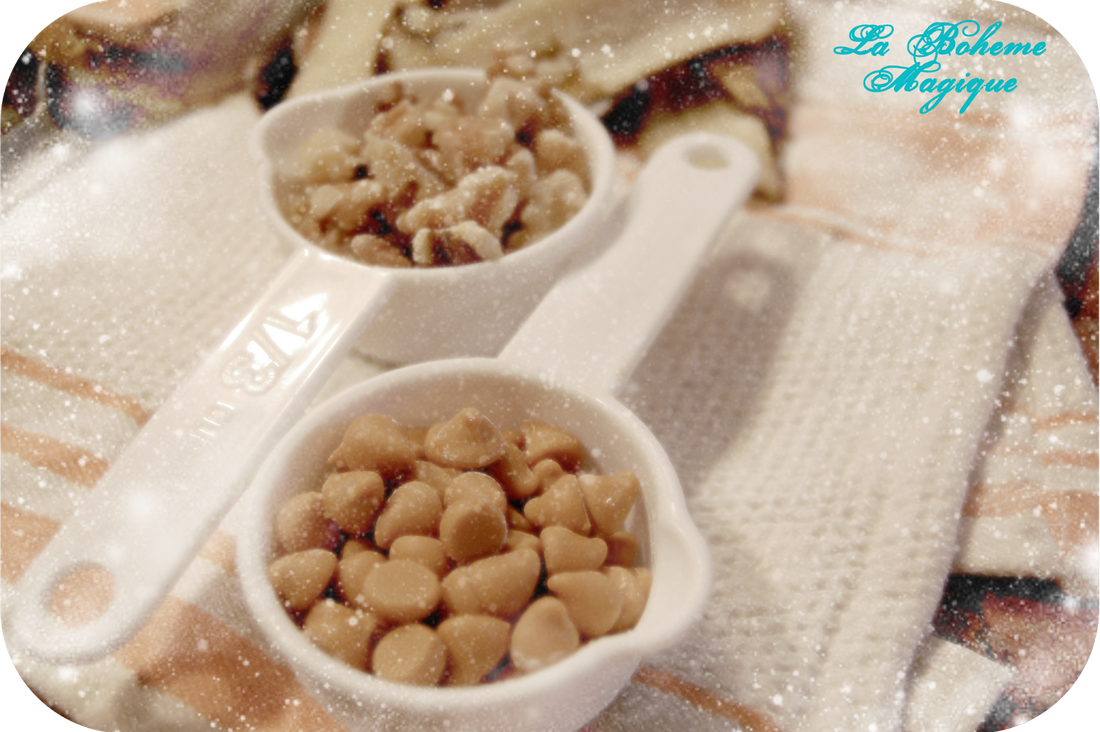
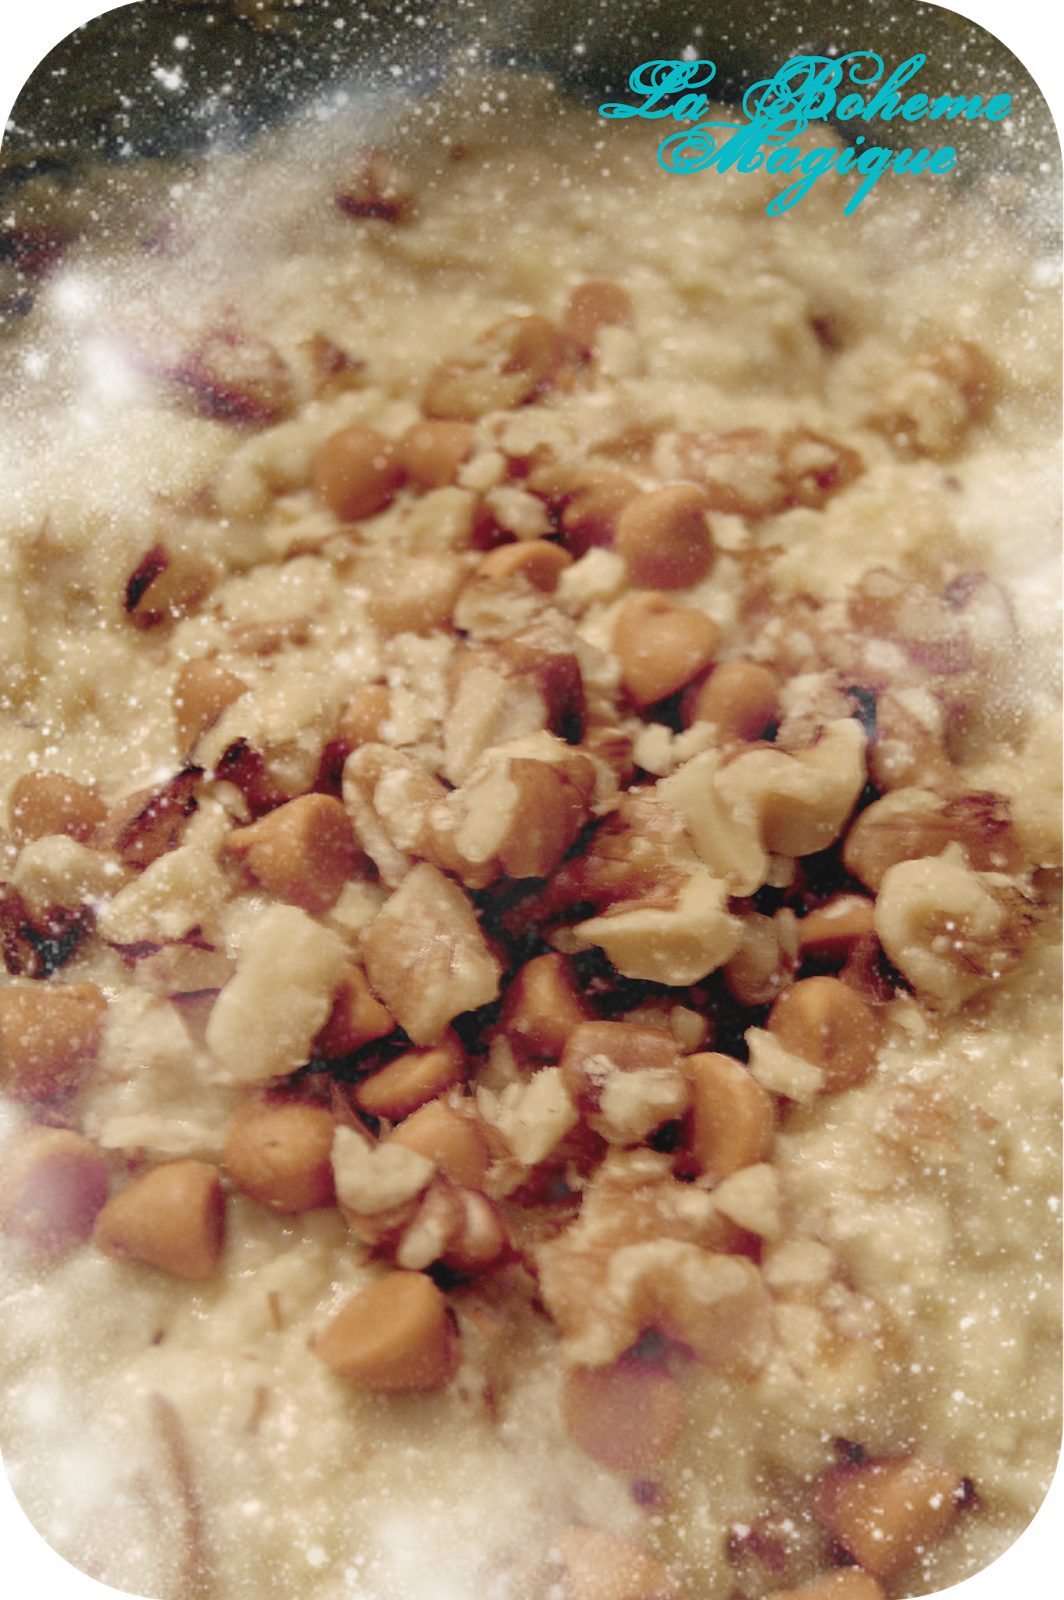
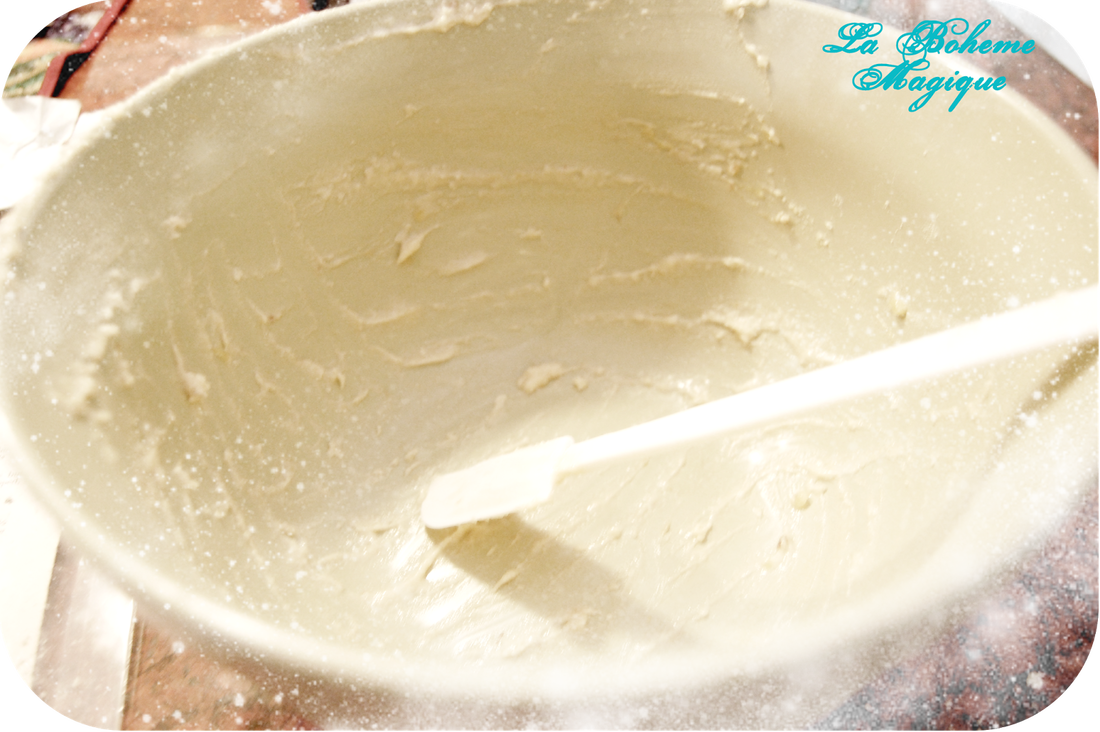
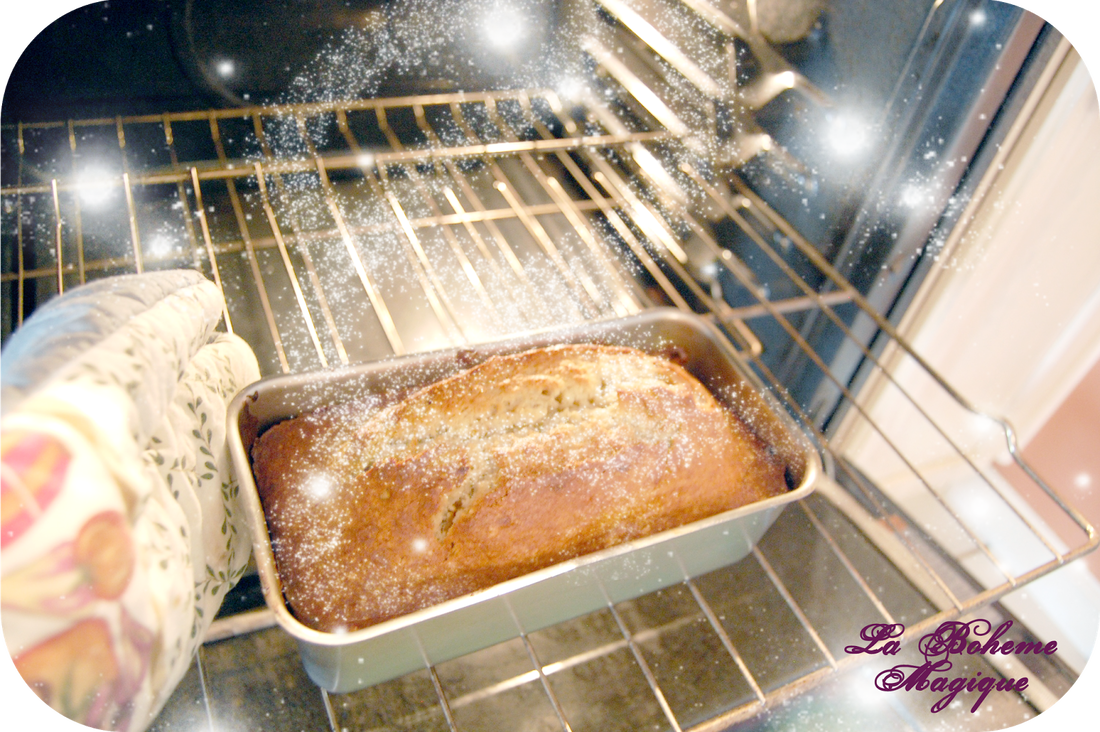
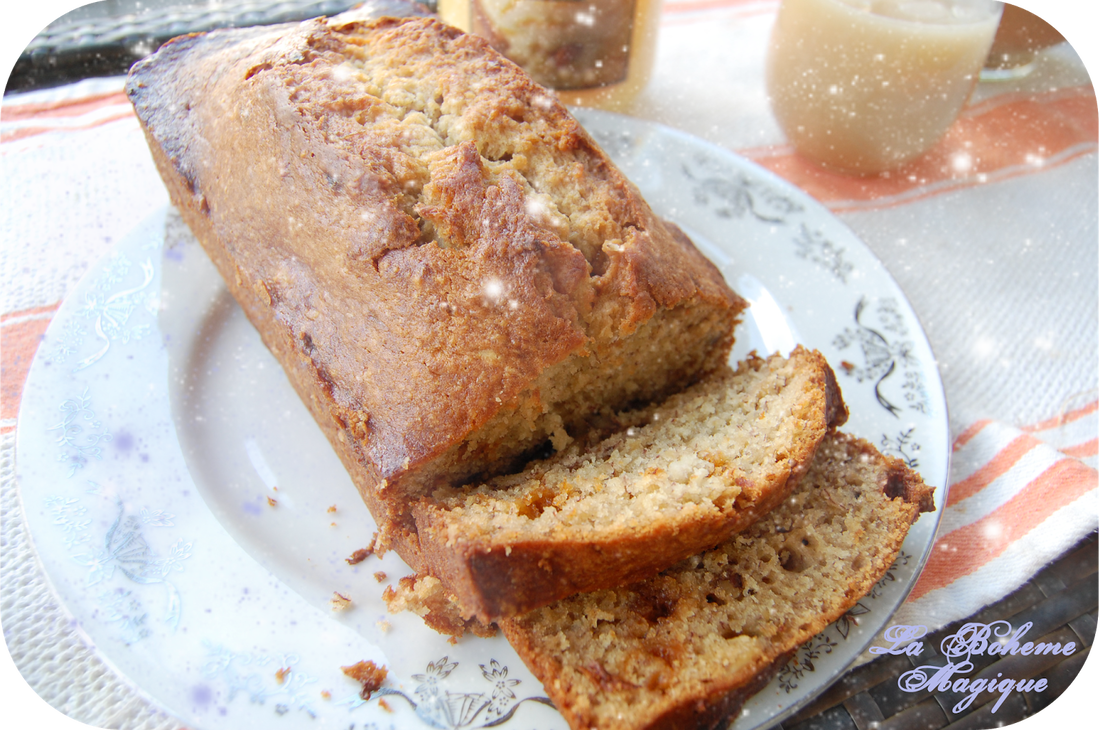
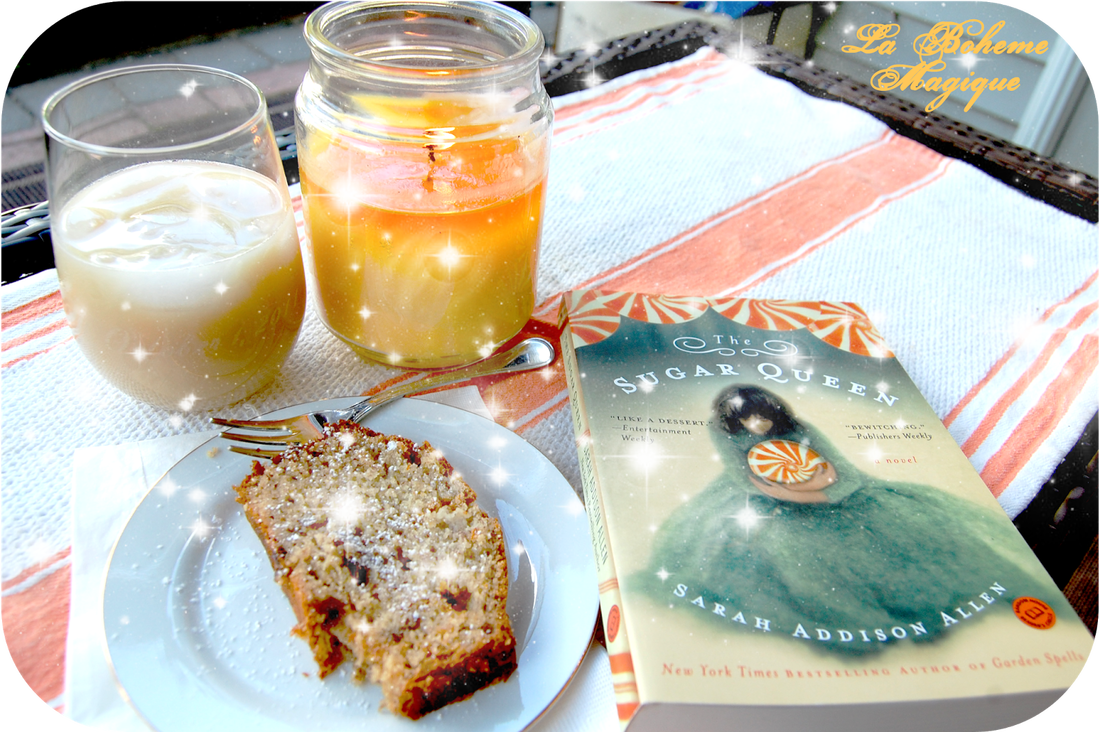
So my mom has been making this banana bread recipe since I was very little and it's always fun to try different versions of it with different little surprises added inside. You can pretty much add anything you want to the batter, but today I decided to try out some butterscotch morsels with walnuts... I also had dried cranberries on hand, but wasn't sure if that would be overkill... Maybe next time! So my mother brought to my attention that the bananas were starting to go bad, which is the BEST time to make banana bread!! She wanted to make it, but she was busy with some other things, so she asked me to. So I whipped out her handy dandy recipe! INGREDIENTS 1 3/4 cups of all purpose flour 2/3 cup sugar 1 teaspoon double acting baking powder 1/2 teaspoon salt 1/4 teaspoon baking soda Once I got all of my ingredients together I preheated my oven to 350 Degrees and then I added the dry ones first to a large mixing bowl. Next add 1/2 cup of shortening, or you can use butter or margarine I actually used Earth Balance Vegan Butter and it worked just as well! I also used the same thing to grease my pan. Here in this step you want to cut the butter or shortening into your dry ingredients with 2 knives, scissor style, OR you can do what I did and mash it all together with your hands... (Make sure you take off your rings and your hands are clean ;-) ! ) Mash it together until you get these coarse crumbs! Next mash up your 2 overly riped nanners, and lightly beat 2 eggs! Add that to your crumbly dry mixture along with a half a cup of your butterscotch morsels and a half a cup of your crushed walnuts! Fold all of that into your batter with a spatula! Now grease your bread pan, and pour your batter into it. Pop that baby in the oven and set your timer to 55 minutes to 1 hour Time to LICK THE BOWL!!! :-X (That part always makes me still feel like a little girl!) Once your timer goes off, stick a toothpick or fork in the center, and if you have raw batter come out onto the fork, then let it bake a bit more! Mine was actually still a bit uncooked in the center after a full hour! I think I added an extra 10 minutes, and again it was still uncooked. Finally after adding another 15, it was baked all the way through! Time to take out our BANANA BREAD! Let that cool on your stovetop now. Would you like a slice or two?? Now excuse me while I cozy up in a cushiony chair under the shaded pergola and devour my tasty afternoon sweet treats and my magical book! If you would like the recipe to my magickal iced chai tea, see my blog posts here!
0 Comments
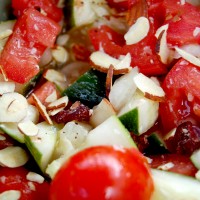
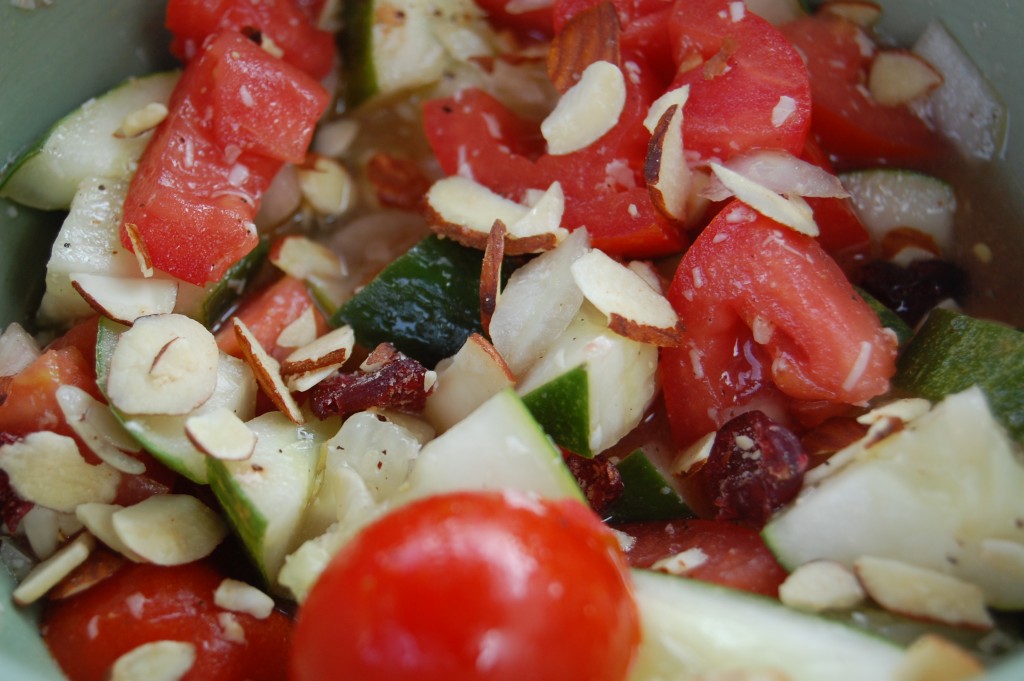
This was among the many experimentation recipes that I have tried with my friend Ashley. We made this salad to go along side of the Gluten Free Squash Pasta Recipe that you can find HERE! This is a very simple side salad you can make that can really add a nice touch of garden fresh flavor to any healthy summer meal! INGREDIENTS 1 Cucumber 1 Garden Fresh Cherry Tomatos 1/2 an Onion 1 Cup of Dried Cranberries and Sliced Honey Roasted Almonds Mix (We used premixed by AlmondAccents) Feta Cheese (we didn’t add to our recipe, but this would be a great addition!) FOR YOUR VINAIGRETTE YOU WILL NEED: 1 TBSP Olive Oil 1 TBSP White Vinegar 1 TBSP Honey 1 Pinch Salt and Pepper DIRECTIONS 1. Rinse your Cucumbers and Tomatoes and peel your onion. Dice your onion. Quarter your cucumbers. Cut your tomatoes in half with a serrated kitchen knife. Add to your mixing bowl. 2. Add your 1 Cup of Dried Cranberries and Sliced Honey Roasted Almonds Mix by Almond Accents, to your veggies in your mixing bowl. 3. Add your feta cheese if you’d like. 4. In a smaller mixing bowl, add your oil and vinegar. Whisk in your honey until the consistency is even. Also add your salt and pepper and whisk altogether. 5. Pour dressing over vegetables and stir everything in the bowl until all of the vegetables are coated evenly with the vinaigrette. 6. Serve with your dinner. Did you like this recipe? Did you add anything different to it that you’d like to share?
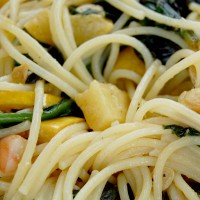
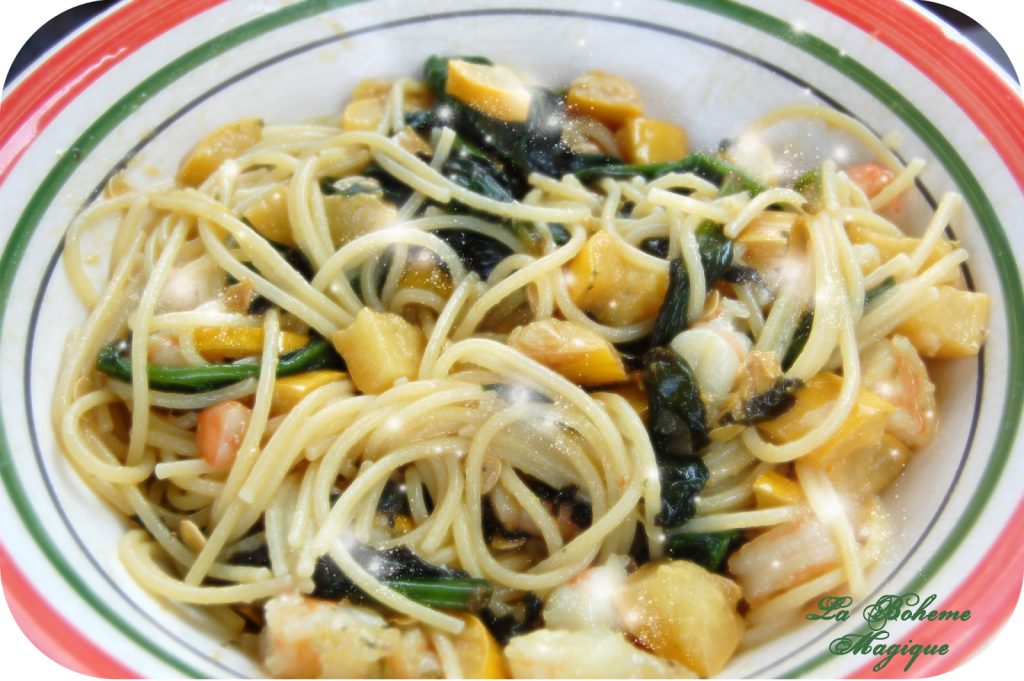
Please let me know in the comments! This recipe was inspired by my friend Ashley who had told me how a friend of hers was suggesting that she go on a gluten free diet, because all her life she has had eczema issues with her skin. In efforts to clear up her skin once and for all, she really wanted to try out some options to see if she would be able to follow through with a gluten free diet. Last year, my dad had also tried the gluten free route, so I am very familiar with some gluten free products and had pointed her in the right direction as far as alternatives for certain foods, go. We are both Italian, so cutting out pasta altogether is pretty much sacrilegious, and more of a challenge than you even know!We tried out some gluten free dishes that she would enjoy eating, and that are super easy to make as well! Also, my parents came home this day with some vegetables from my grandmother’s garden! They brought home some yellow squash and fresh cucumbers!! I just had to try them out in this dish!! Note* We did try the gluten free pasta for Ashley, but feel free to substitute in regular pasta if you are able to eat gluten. INGREDIENTS 1 Pound of Gluten Free Spaghetti (We used Schar Brand) 1 Yellow Squash Half a Bag of Baby Spinach 1 Clove of Garlic 1 Stick of Earth Balance Vegan Butter Olive Oil Handful of Shrimp (Fresh or Frozen is up to you) Salt n Pepper Half a Lemon DIRECTIONS 1. So first we’re going to chop up our squash; now this is just a matter of personal preference, Ashley didn’t mind the squash skins on, but I think next time I make it I would peel the skin off first. Even after cooking them and steaming them for 20 minutes, the skins were still really hard and crunchy to the bite. It was a bit too thick for me, but prepare it to your personal preference. 2. Next if you are using frozen shrimp, defrost them in some lukewarm water. Not hot, or they will cook! Let those defrost for a bit while you do the next steps. 3. Chop your garlic. Yes I use LOTS of garlic for my dishes… I’m Italian, what can I say!?!? At least I keep the vampires away! 4. So oil your pan, turn up the heat and when that gets nice and hot, add your garlic. Before that browns, add about half of your butter. Let the butter melt a bit so the oil and the butter start to make a nice little sauce. Now add your squash to the pan! Put a lid on that and let those steam! 5. While your squash is steaming, start a pot of salted water for your pasta! I would also strain the defrosting shrimp at this point, rid them of any tail shells, and cut them in nice sized chunks. This way, more shrimp is spread evenly throughout your pasta once you mix it together. 6. Once your shrimp are cleaned up and defrosted, check on your squash. Add your spinach to your now tenderly cooked squash along with the other half of the butter, and let that melt over the veggies. Stir that around until the butter is evenly coating all of the veggies. Lower the heat and add the lid, leaving it cracked open. 7. Your pasta water should be boiling by now. Add your pasta and stir with a pasta ladle to prevent it from sticking together. Now just an FYI for anyone cooking Gluten Free pasta for the first time… As you are cooking it and tasting it to see if it is done, it does have a very cardboardy, fake kind of taste, and it is going to taste a little “off” until it is fully cooked. If you are used to pasta with gluten and eat it often, switching over to gluten free pasta is a bit weird at first, but the taste is pretty manageable, and with the right ingredients it can be delicious! 8. While your pasta is cooking, now add your shrimp to your squash and spinach mixture! We add this last because shrimp cooks very fast, and we don’t want to overcook it! Now salt n pepper it, and add your half a lemon’s juice to it. 9. Make sure you are still stirring your pasta and taste to see if it’s done. It’s a bit tough to eat gluten free pasta al dente, you want to make sure it is cooked all the way through so it doesn’t taste like cardboard. Strain your pasta once that is done! I would not rinse the pasta with water, I’m not sure about gluten free pasta, but with regular pasta, rinsing it rids the pasta of all of it’s starches, and in traditional Italian cooking, we like to keep in all of that flavor! So right after you strain the pasta, put it into your large pasta bowl, and dump in your Squash, Spinach, and Shrimp Mixture! Mix everything together! HOW DELICIOUS DOES THIS LOOK!?Ashley LOVED the recipe! I think she will do just fine with her new gluten free diet, Let’s wish her the best of luck!
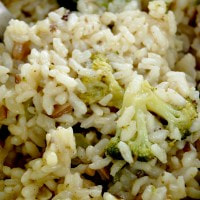
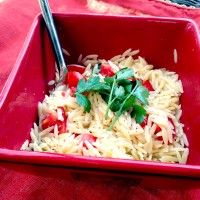
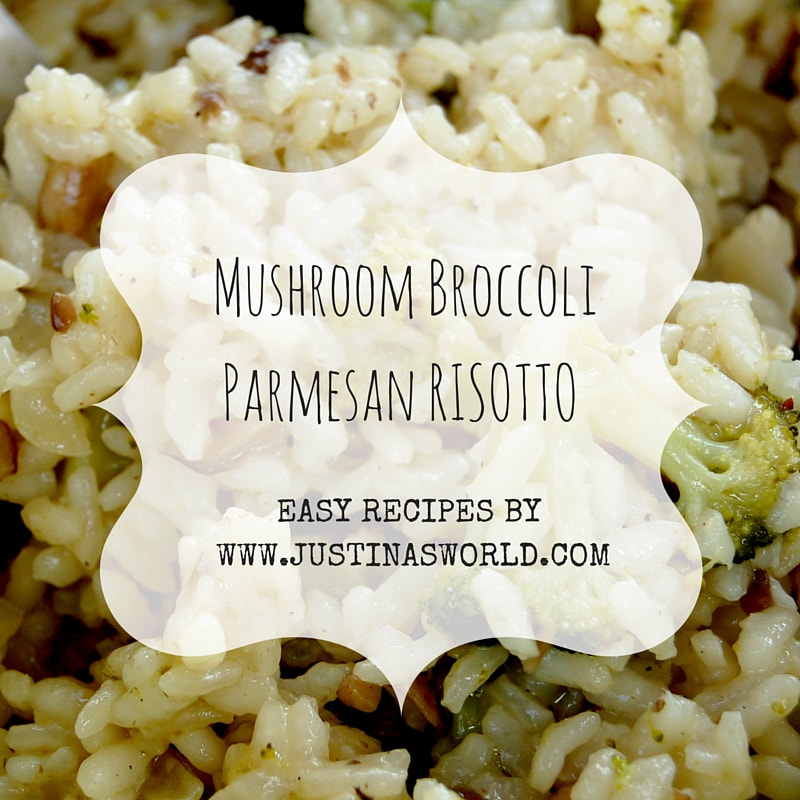
Are you thinking about going gluten free, or have you already tried such a diet? How did things turn out for you? Did it soothe what ails you? Have you had success? Comment below and please let us know! We hope you enjoyed our recipes for today! If you try them out, please let us know how they turn out.. And also comment below and let us know if you have any questions as well! My dad taught me how to make this dish, and it is one of my favorites! It does take a bit of practice, as Risotto in general can be tricky as it needs to be constantly watched and stirred. It is a pretty high maintenance dish, but the payoff is very rewarding if you can get the hang of it, because it is absolutely delicious!
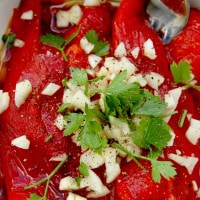
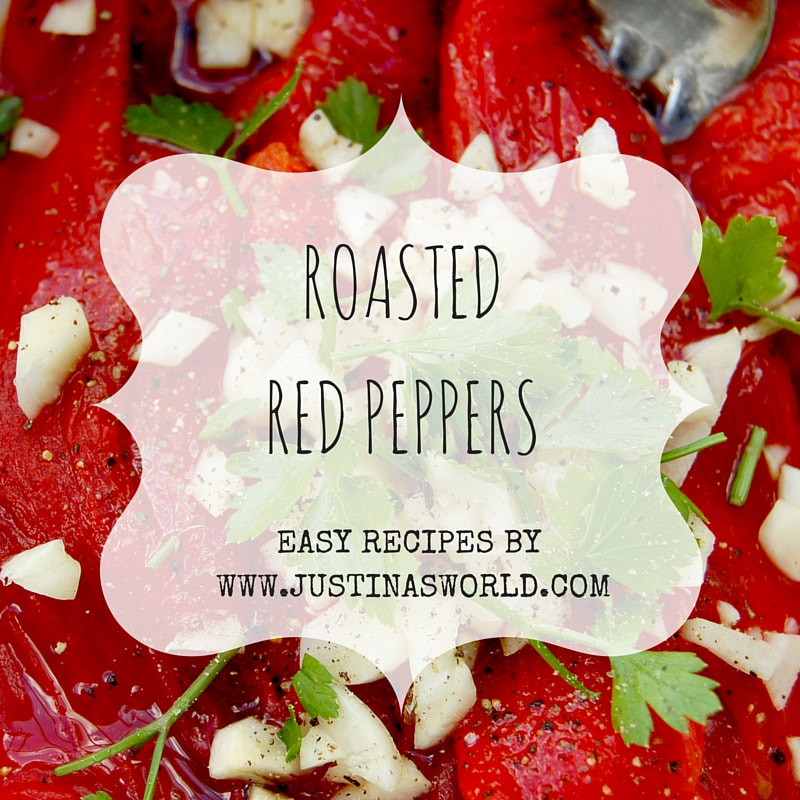
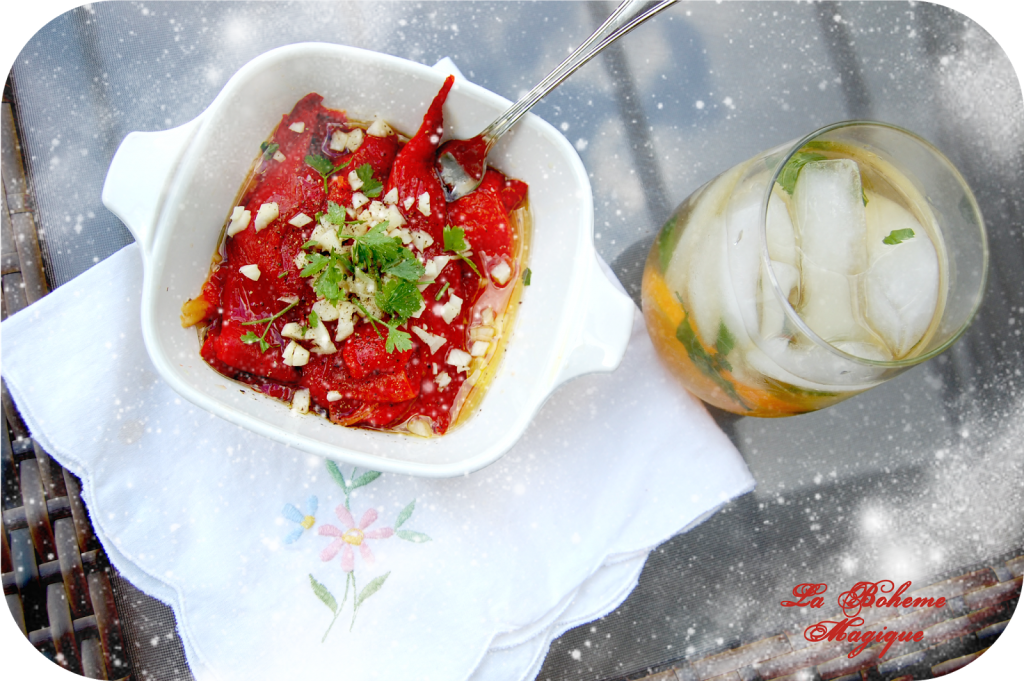
Risotto is a very versatile dish that can either be prepared as a side to any grilled meat or seafood dishes. Feel free to even add and kind of meat or seafood to the dish as well! Risotto can even be prepared and eaten as a main course as it is very hearty and filling! Either way, I’m sure you’ll enjoy this delicious meal! INGREDIENTS Olive Oil 1 Clove of Garlic Chopped Mushrooms Broccoli – (You can use fresh Broccoli, but I had used frozen) 1/2 a Small Onion 1 Cup Arborio Rice 1 Cup of Water 1 Cup Chicken Stock Parmesan Cheese White Wine (You can use cooking wine, but I just used regular wine.) Salt n’ Pepper DIRECTIONS 1. So we’re going to start off prepping our veggies! First dice up your mushrooms and onions and throw them into a bowl along with your broccoli heads. 2. Next mince your garlic and coat the bottom of your pan with extra virgin olive oil. 3. Once that is simmering nicely, and before the garlic turns brown, add your bowl of veggies!! Let those really simmer and cook through nicely before adding your rice…. 4. Once your veggies are pretty much cooked through enough, you want to add your 1 Cup of Arborio rice. I really love this rice because as it cooks it starts to form this creamy like consistency and it is OH SO YUMMY! 5. Now once you add your rice, stir that in with the veggies and make sure all of the grains are covered in the oil until they start looking clear. Once all of the rice is covered in the oil, you want to add 1 cup of water, and 1 cup of chicken stock. 6. Now STIR!! Lower the heat, and put the lid on and crack it a bit… Let it cook. Be sure to keep checking every minute or so until it looks like the risotto has absorbed some or most of the water. 7. Once the risotto is absorbing all the liquid very nicely, stir more!! Again, the key to good risotto is to keep stirring and keep between low and medium heat… 8. This step is optional, but I added some white whine (I love any dishes with a little splash of wine, a tablespoon should be enough). 9. Add some grated fresh Parmesan cheese! 10. Keep stirring until most or all the liquid is now evaporated. Taste the rice to make sure it is cooked all the way. If it is still too hard to the bite, then add some more liquid and keep stirring until all of the water is completely evaporated, and the rice is soft to the bite. 11. Once your rice is soft to the bite and all of the liquid is evaporated, remove from heat, and place into your serving bowls. BON APPETITE! Did you like this recipe? Did you do anything differently or add different veggies or cheeses to mix it up? If you decide to give it a try or have any other ideas to add to this recipe, please comment below and let me know your thoughts! Now I grew up in an Italian Household with my parents often entertaining, and this dish has usually always been on the antipasto menu! They are DELICIOUS, and absolutely EASY to make… ROASTED RED PEPPERS Ingredients: 1 Red Pepper per person 1 Clove of Garlic A Few Sprigs of Fresh Parlsey Extra Virgin Olive Oil Sea Salt Ground Black Pepper DIRECTIONS: 1. Preheat your oven to 350 degrees. 2. So we are going to start with our peppers, I am going to make 2 for today. Before we cook with them, let’s just rinse them anyway to be safe! 3. After they are rinsed, dry them, and place them on a baking sheet covered with tin foil. 4. Pop those babies in the oven, and leave them in there for about a half hour or until the skins look like they’re starting to charr and start peeling off of the pepper. You also want your peppers to feel soft to the touch, not really firm anymore, so make sure the insides are cooked before taking them out! 5. Once they are cooked all the way through and the skin looks like it’s lifting and starting to peel itself off, take them out and let them cool before handling!! Once they are cooled enough remove the stem/core and start peeling the skins off! 6. After removing the skins, start running the peppers under cool water to remove all of the seeds and any skin remaining off the pepper slices. Place them in a dish, because we are going to start seasoning these babies! 7. Chop up your cloves of garlic & collect your Parsley from your garden, or purchase it from your local farmer’s market as well! If that’s the case, give them a little rinse as well. Add your Extra Virgin Olive Oil to your peppers,sprinkle your garlic and parsley over the top, and then lastly add your pinch of sea salt and your ground black pepper! 8. Give that a good mixing, and you might wanna wrap this up and fridge it for 20 – 30 minutes before eating. They are best when they are cold! It’s been a great day of experimenting in my kitchen, and showing you this recipe that I grew up with… Try them yourself, and let me know how you like them, or if you decide to try them, and you have your own ideas to add to them, I’d love to hear about em!
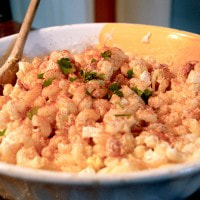
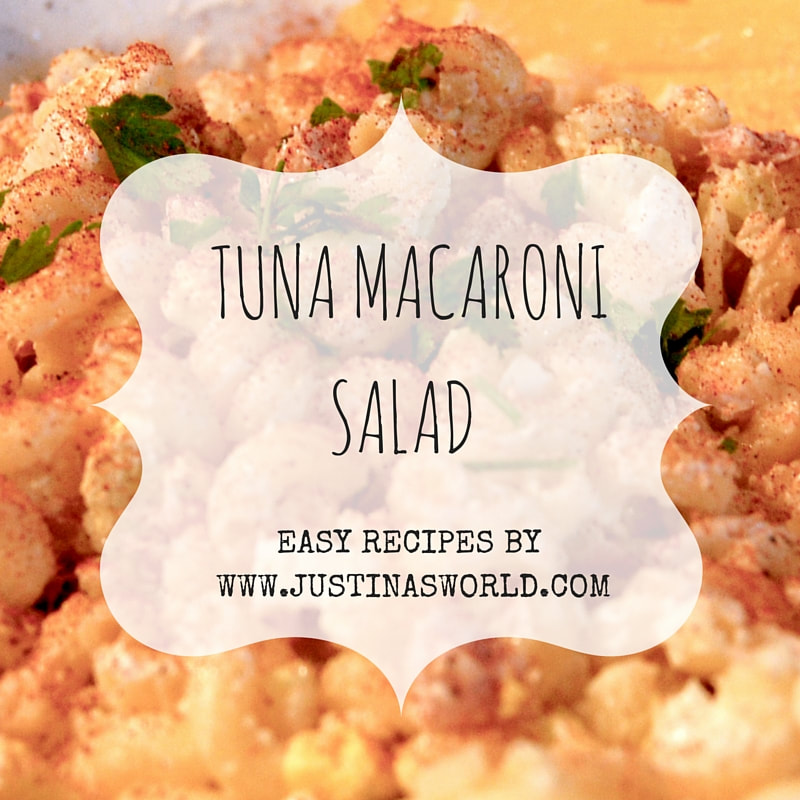
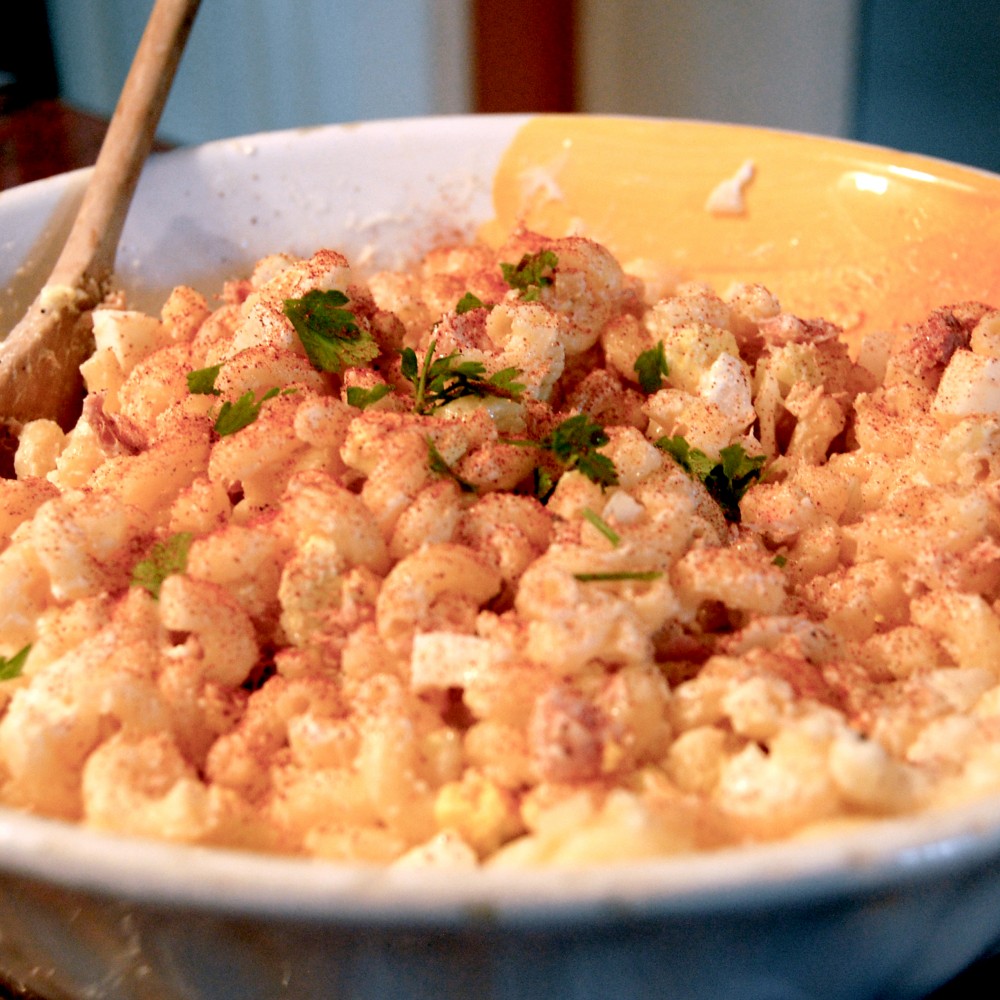
Today I wanted to share a simple recipe with all of you… My mom has been making this since I was little, and it is a nice quick meal you can just throw together if you have these basic ingredients: 1 lb of elbow macaroni 1 can of strained tuna A few stalks of washed celery Half an onion 2 or 3 Hardboiled Eggs Mayonnaise Fresh Parsley Salt & Pepper Paprika Sometimes I also add some sliced black olives, but I didn’t have any so feel free to add those in too, if you’d like! So the steps to making this yummy dish are pretty easy!! DIRECTIONS 1. First you cook your pound of pasta, and strain it! Also while your pasta is cooking, you can also hard boil your eggs as well! 2 or 3 should do just the trick for a pound of pasta! Once your pasta is done cooking, rinse it with cool water to prevent from sticking, and throw it in a large mixing bowl! Let that cool a bit while we prep our other ingredients… 2. Once your eggs are done, it should make it easier to get the shells off if you shock them in cold water. (I guess that would make them SHELLSHOCKED! AAHAHAH!) and leave them in that for a few minutes while you’re prepping your veggies in the next step! 3. Next wash your celery, and peel your onion! Chop them up, dice them up finely if you’d like, or if you like your veggies chunkier that’s fine too! It’s all what YOU prefer! 4. Once all of your veggies are chopped, go back and take your “shellshocked” eggies out of the water! Give them a peeling and rinse them to get the remaining shell bits off. Now chop your eggs into nice sized chunks, and open your can of tuna! 5. Now you are going to add your Onion, Celery, Eggs, & Tuna to the pasta in your large mixing bowl… Add mayonnaise until you are happy with the consistency. You can also opt to use some Greek yogurt as a healthier option if you’d like. Stir it all together!! 6. Now it’s time to go out to your garden if you have one, and pick some *FRESH PARSLEY* or you can just buy some parsley from the store! Now go to your magickal spice rack and grab your paprika for another little splash of color!! Also add some salt and pepper. Feel free to taste along the way to make sure the flavors are exactly how you want them! 7. Now wrap and refrigerate for at least 30 minutes! This dish is best served cold! Enjoy a whole bowl of this as your whole lunch OR have as just a side with some BBQ’d meats or grilled veggies!!!
Try it out and add your own ingredients as well!! Did you try this recipe? Let me know how you liked it, in the comments below? I know, I know, it has been WAY TOO LONG since I have updated about ANYTHING… So I am going to try to do a post after this one, updating the past year or so. 🙁 … I know, I suck, I am a horrible human being LOL… I have led all of my followers to a dead end, not keeping up with posts, so I am going to try to post more often, but a little thing called life keeps sweeping me away with the current, and I get caught up doing other things…. But me oh my! How time flies! Last time I updated was a month or so shy of a year ago… SHAME ON ME!! But I miss you all so much, and I have been feeling a little domestic lately.
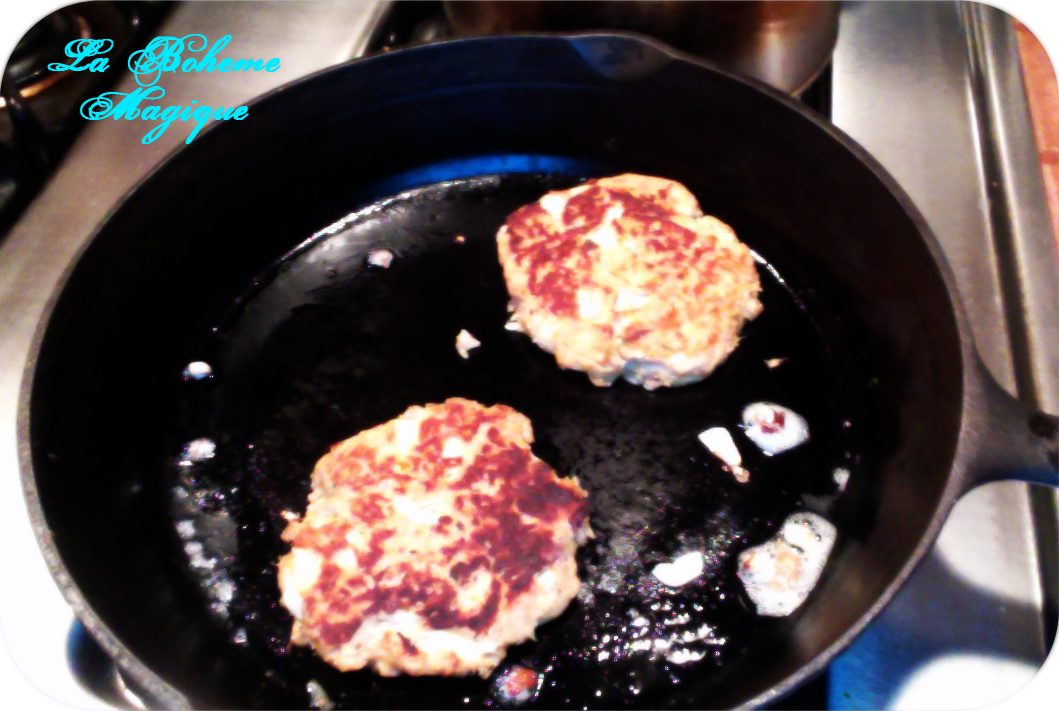
Today I tried a recipe that I just had to share with you all… A friend of mine from LA had actually made us these one night, back in 2009, and I remember them being SOOOO yummy! Today on my way back home from work (I work till noon on most days), I was thinking of what I should have for lunch, and then I realized I had a can of tuna. I am trying to eat less carbs, my pasta gut is starting to grow too attached (it thinks we’re friends)…. But I am currently giving it the silent treatment (well, for today anyway).. maybe if I ignore it enough by not feeding it more carbs everyday, maybe , JUST MAYBE it will go away LOL! So I tried this low carb recipe for Tuna Burgers! The only carbs involved were the breadcrumbs to hold the mixture together, o well… Well here is a recipe, I kinda just winged it, but they came out SOOOO GOOD! EVEN WITHOUT THE BREAD! (I didn’t eat them with a bun, but if you want to, feel free!) INGREDIENTS 1 Can of Tuna 1 Egg Mayonnaise Italian Seasoned Breadcrumbs Chili Powder Wercestershire Sauce One Celery Stalk Half of a small onion Earth Balance Vegan Butter to grease the pan ( I am not a vegan, but I LOVE this butter, and it’s GUILT FREE! You may use regular butter to grease the pan if you please!) Cast Iron Skillet DIRECTIONS 1. Drain the canned tuna and place it into medium sized bowl 2. Fine mince your celery and onion (You can even add minced bell pepper, but I didn’t have any on hand today) 3. Add your one egg, along with the mayo, breadcrumbs, chili powder & onion/celery (I added the mayo and breadcrumbs until I was happy with the consistency. The mixture should remain clumpy, not runny) 4. Add a few dashes of your Wercestershire sauce 5 Salt & Pepper that baby! 6. Mix everything up and start forming your patties. 1 can of tuna should give you 4 patties! 7. Heat up your cast iron skillet with a little butter in it to grease it so the patties don’t stick Be extra CAREFUL when placing them into the pan, they are super delicate and you don’t want them to fall apart! (I used 2 spatulas to help with the flippage) 8. Cook on each side until golden brown and crispy. 9. Serve either on a bun, or you can eat it bunless as well. Feel free to add any condiments of your choice, you can top with lettuce, tomato, onion, and ketchup. ENJOY!!!! If anyone tries this, please do let me know how you liked them!! 🙂 Thanks to my friend Jacob for introducing me to tuna burgers! YUUUMMMMM!!! Til next time…. Justina xoxo Hey Guys,
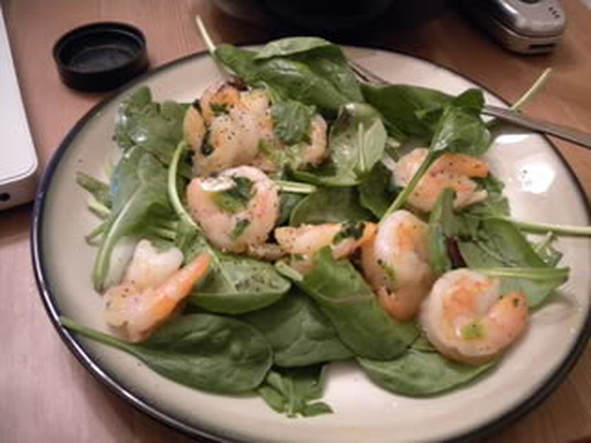
I came up with an idea tonight while I was making myself dinner. I finally had the house to myself tonight…sometimes dinner time with 5 other people living here can be a very crazy thing. I was lucky enough to experiment a little tonight. I have been sick the past few days, (no it’s not swine flu, I assure you I am fine)….and I have been trying to eat a lot of raw vegetables in order to boost my immune system! So as I was cooking I came up with this idea, that every time I come up with a cool recipe , I am going to blog it and tell you how I made it. This way you can try it yourself at home. It doesn’t really take much effort to throw some shit in a pan and fry it up…all you need are some taste buds and a little instinct. So throw away your ramen, craft mac n cheese, cambell’s and chef boyardee… Yes I do get lazy sumtimes, but fresh food is always better for you…..So here we go! The first recipe I would like to bring to you guys is my Shrimp and Spinach Salad. Shrimp is probably my most favorite food in the world! Now I might’ve gotten my inspiration from Applebee’s, but mine is homemade, and I added my own personal spin… and my dressing is like WAY better :-X What you’ll need: Fresh or packaged Baby Spinach (organic is optional) Fresh or packaged Shrimp ( i used packaged and freeze it, cuz it lasts longer) Fresh Parsley (it is essential that this is fresh, because that is where a lot of the flavor comes from!) Extra Virgin Olive Oil White Cooking Wine One small clove of Garlic Sea Salt Black Pepper Lemon (Optional) Prepping: 1. First take your shrimp ( a handful is enough for one serving), and peel the skins off if they are still on. If it’s frozen, just run it under warm water…. not hot, cuz you don’t want it to cook in your hand…that’s kinda creepy… After they are thawed and you take the shells off, set them aside in a bowl or something. Dispose of the shells, or put them under your annoying room mate’s pillow, it’s completely up to you…. 2. Take your fresh parsley (one sprig is enough for one serving) , and wash it if it is not already. Then grab a cutting board and a sharp knife (watch your phalanges and make sure your cheating boyfriend isn’t around) and chop your parsley almost fine. 3. Get your one clove of garlic out and peel the skins off. Then chop your garlic fine as well. 4. If you are using a lemon, get that out now! Roll it on your cutting board to get the juices going (that’s what she said) …sorry I had to…. Then just cut the lemon in half, set that aside for now… 5. Take out your uncooked baby spinach(a handful or two, is enough for one serving),. You can also used baby spinach mixed with other leafy greens like mediterranean style lettuce. Wash that if you need to. Set it on a small plate, do not add dressing! You will be using the juices from the frying pan as your salad dressing. Ok now comes the fun ! 🙂 Wolfgang Puck That Shit: 1. Grab a small frying pan, and set the heat to low. Coat the bottom of your pan with your extra virgin olive oil and let that heat up a bit. Once that looks like it’s a -sizzlin’, throw in your chopped gah-lic. Once that starts smellin amazing, you know it’s time to add your main ingredients before the garlic starts to brown ( you DONT want your garlic to brown, that means it’s burnt.) 2. Throw in your shrimp, and add a splash of your white cooking wine (one capful should do). Also add a pinch of seasalt, and black pepper at this point. You can also add your chopped parsley now. 3. By the time you have added the wine, salt, pepper, and parsley, the first side of the shrimp should start turning pink so you want to stir that up a bit now. Cover the pan with a lid, make sure the heat is medium to low, and let that steam a bit. 4. Get your plate of fresh raw baby spinach salad at this point! By the time you get your plate and get back to the stove, your shrimp should be done. Shrimp cooks fast… Make sure no shrimp appears clear or blue still. If all appears pink and cooked, it is time to serve!! 5. Take the small sauce pan, and just dump that good shrimp goodness onto your salad! Make sure all the juices from the pan don’t go to waste, this is your dressing! Give that a light tossing. Optional: 6. Take your lemon half, and just give it a little squirt over your salad for some tang. Also add additional black pepper for more of a zest. And there you have it ! My homemade , last minute, thrown together lovely spinach salad! I did eat the whole thing…minus the one shrimp that didn’t make it from the pan to the plate and fell on the floor. Fredo was a happy pup :-p ENJOY!!!!! -Justina xoxo |
MY RECIPESI grew up in an Italian household, so food to me is a very personal experience. Food to me, means family sitting down together to enjoy a nice meal. It is the part of the day that I cherish the most, bonding over stories and flavors. Good food is one of the greatest enjoyments of life. Archives
May 2020
Categories
All
|


 RSS Feed
